
Introduction
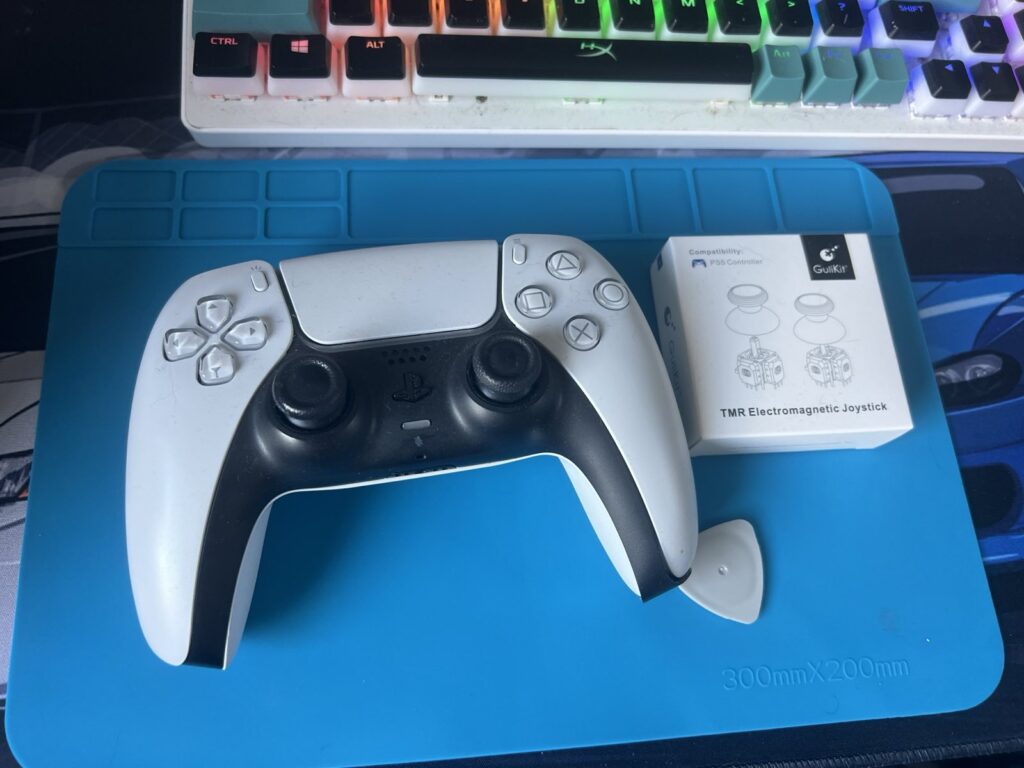
We all know the frustration of stick drift. That annoying, persistent movement in your games, even when you’re not touching the thumbstick. So, when we stumbled upon a faulty PS5 DualSense controller on eBay for a mere £27.94, we saw an opportunity. The catch? “Severe left stick drift.” Challenge accepted!
Our plan was simple: replace the faulty potentiometers with high-quality GuliKit Hall Effect joysticks. These joysticks, known for their precision and longevity, promised to banish stick drift forever. We snagged a pair for £14.50, and the adventure began.
The Tear-Down: Into the Heart of the DualSense
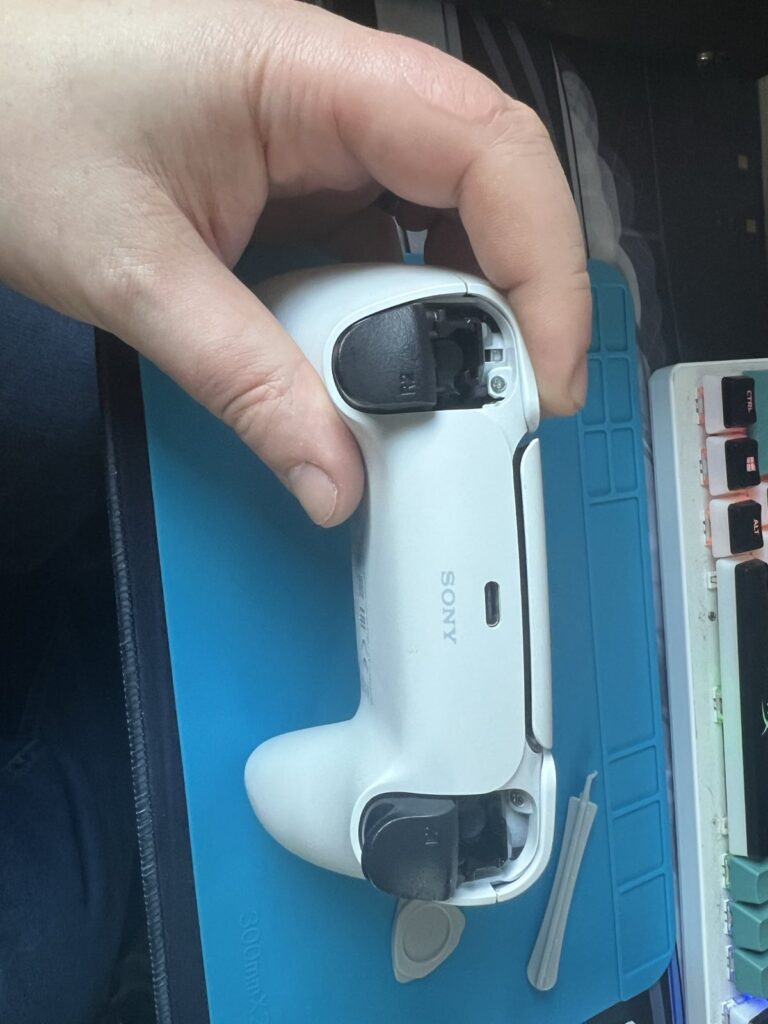
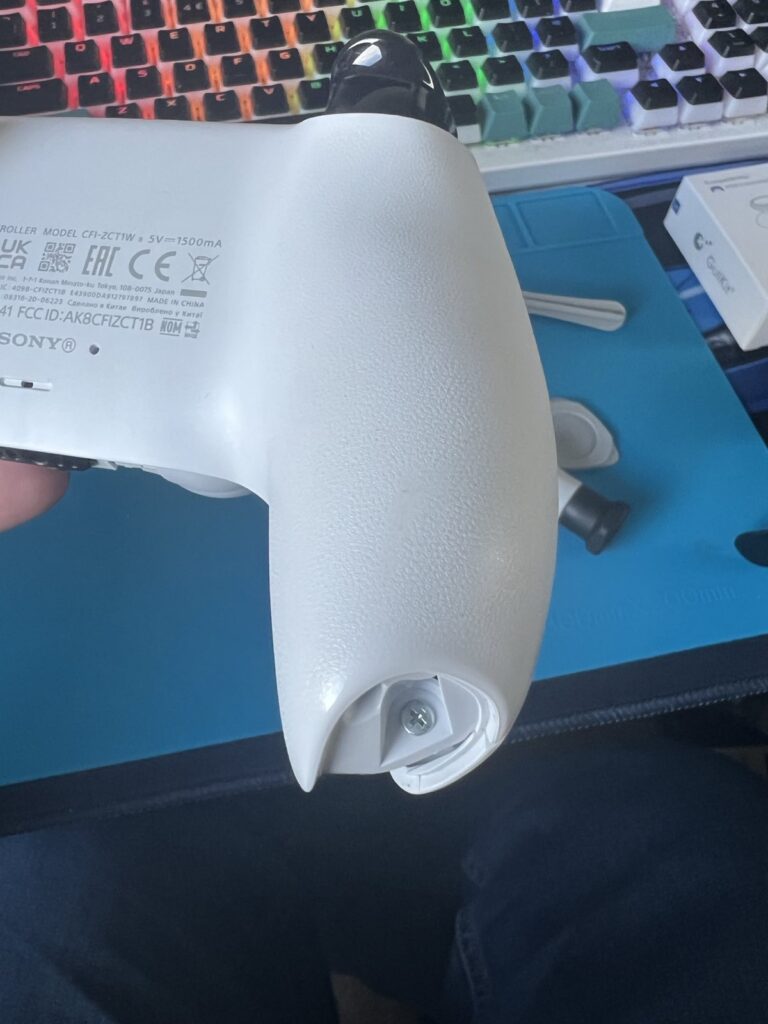
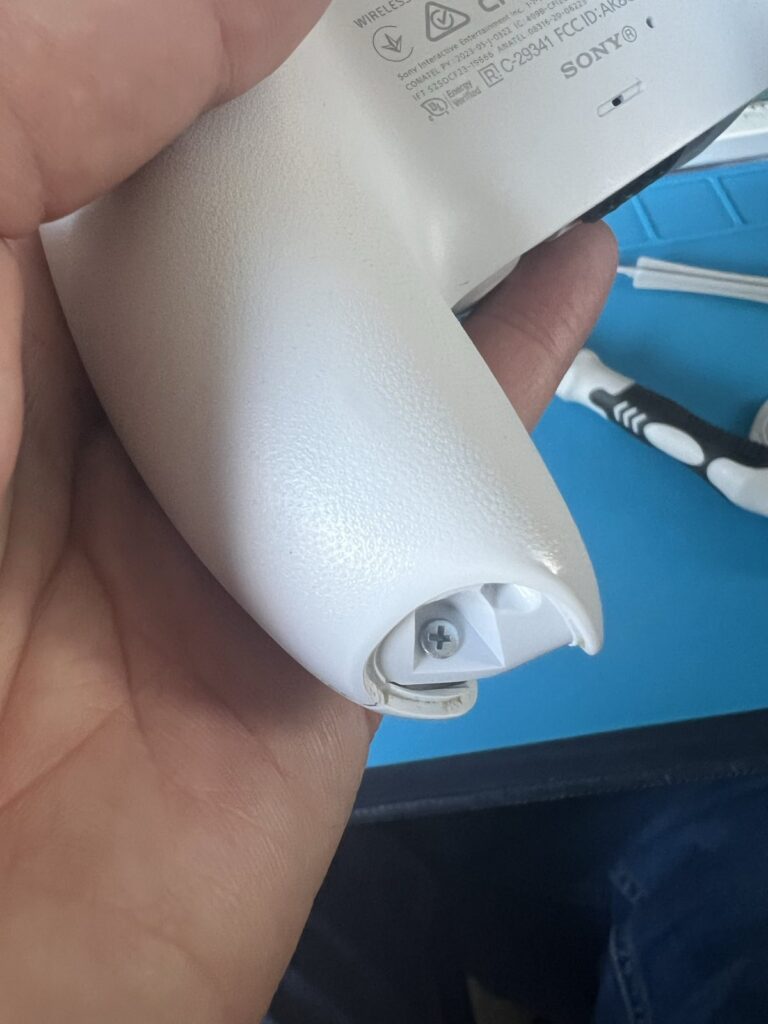
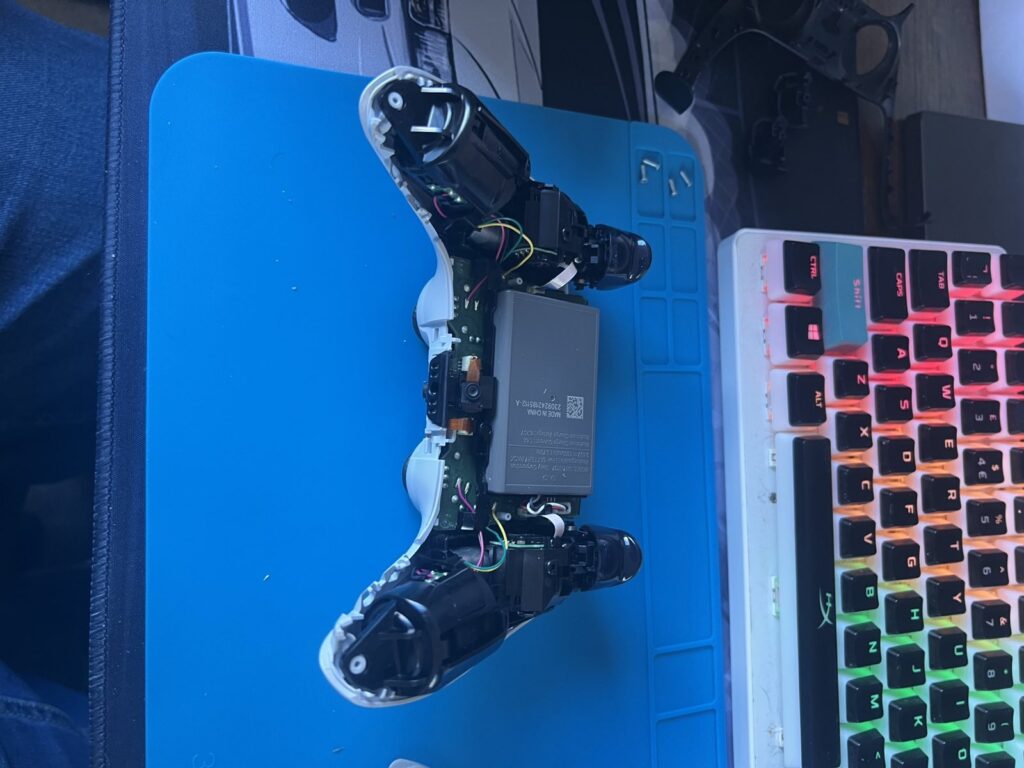
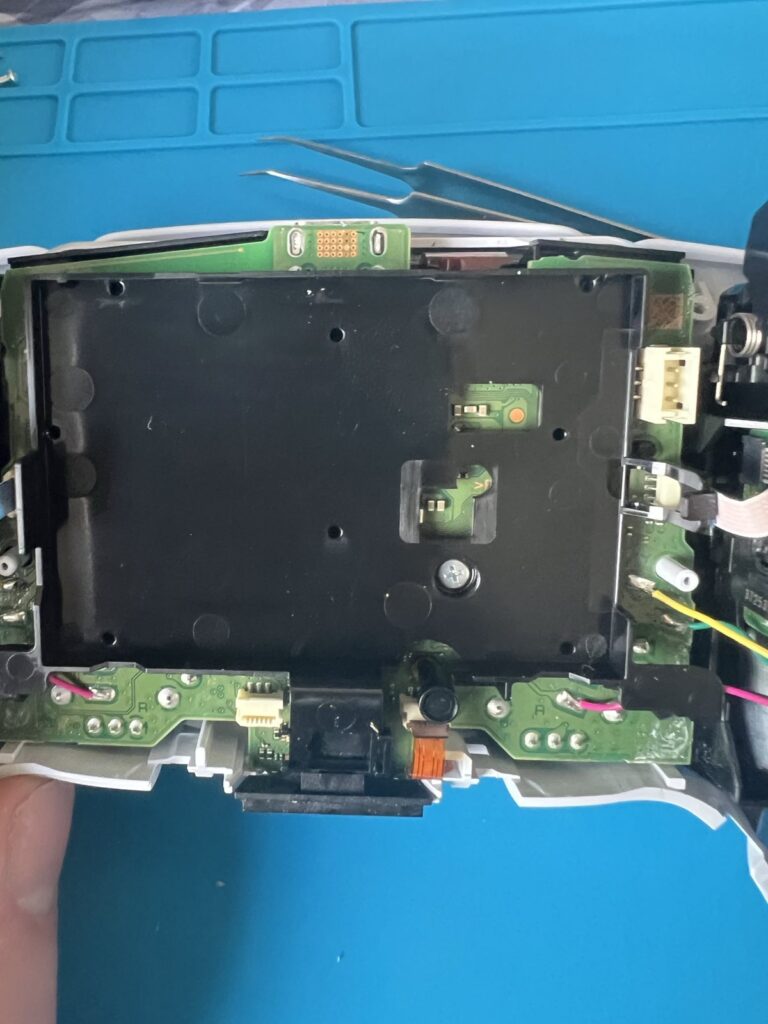
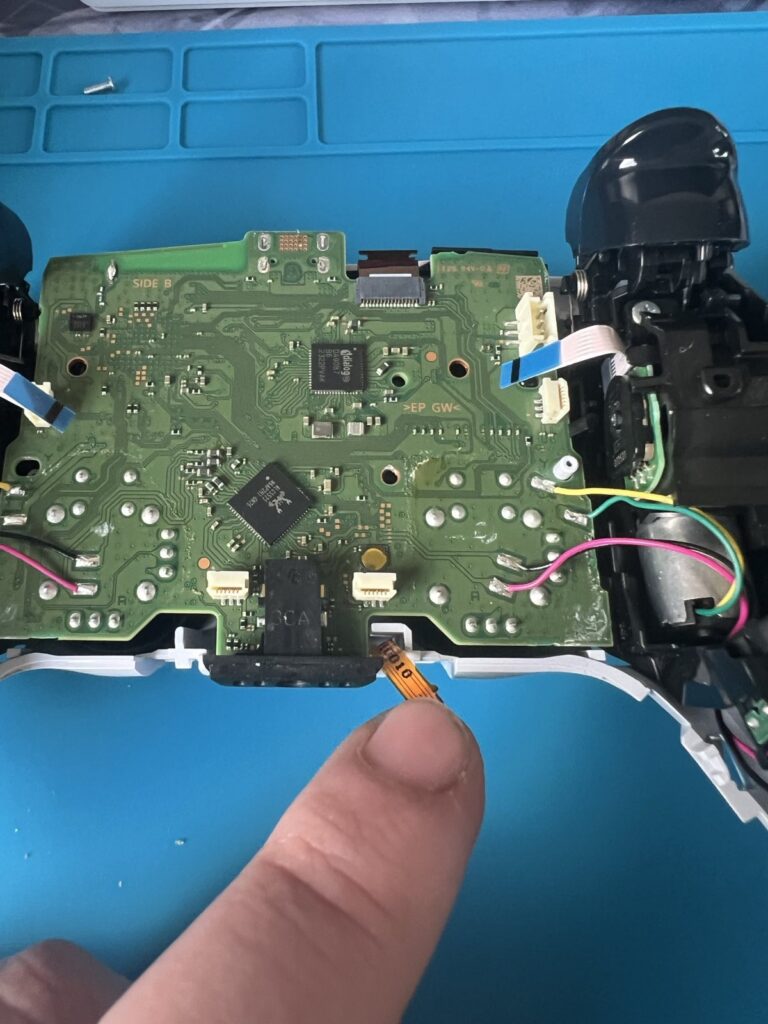
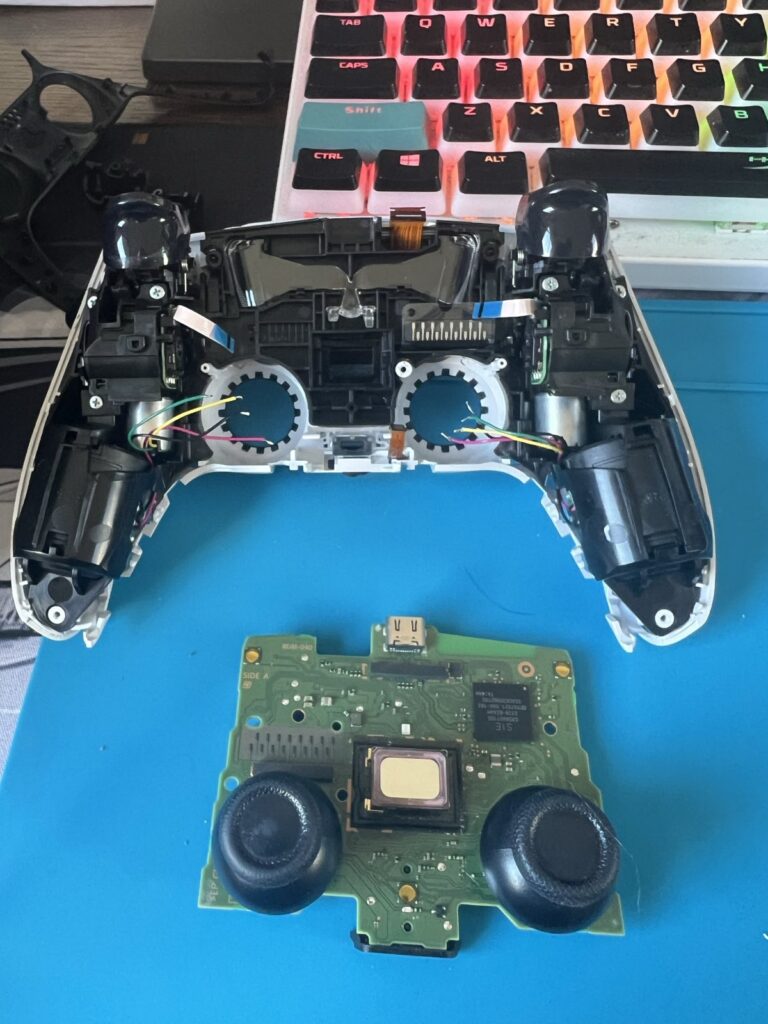
The PS5 DualSense, while sleek, is a complex piece of hardware. Disassembling it requires patience and a gentle touch. We carefully followed online guides, meticulously removing screws and disconnecting ribbon cables.
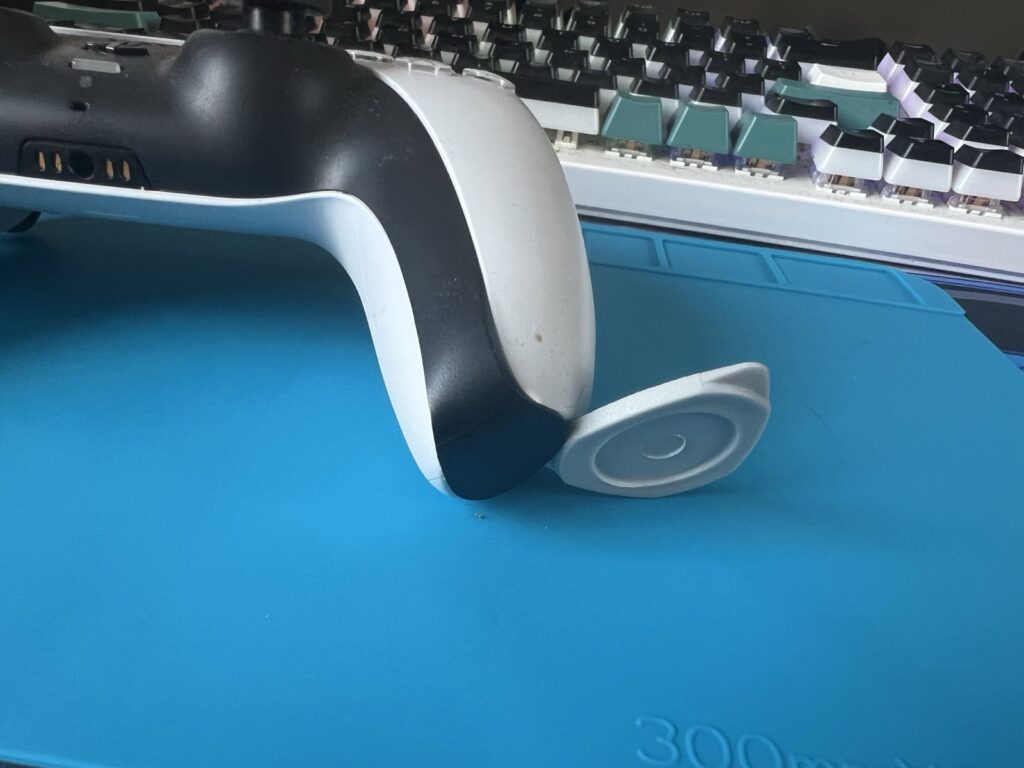
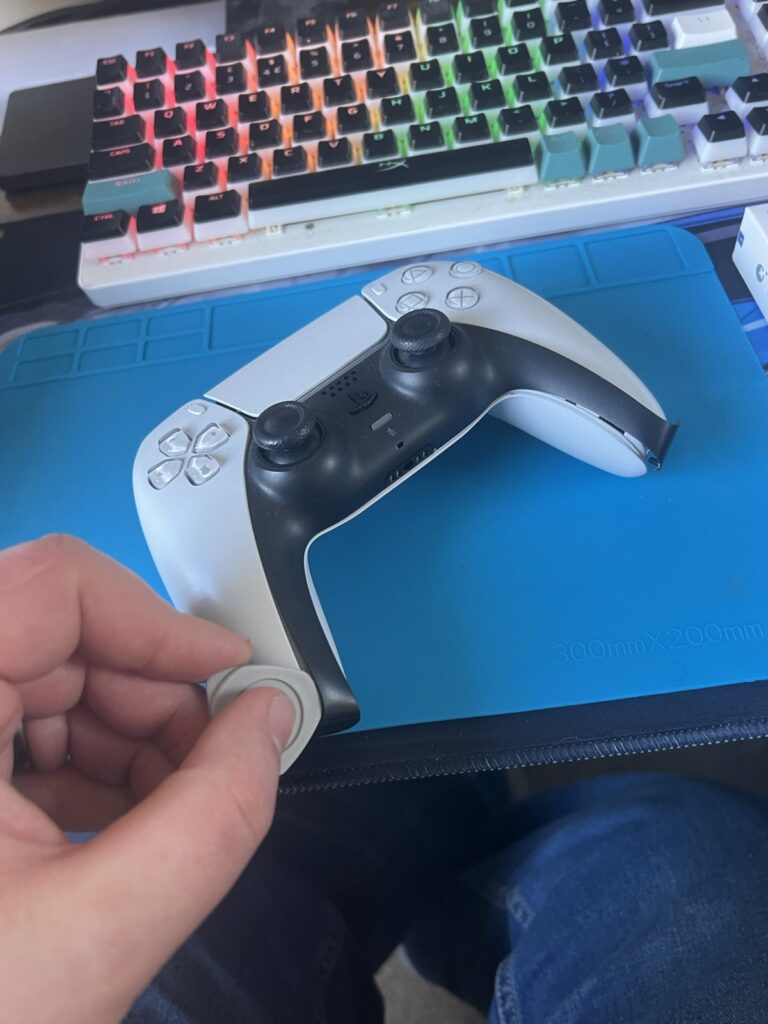
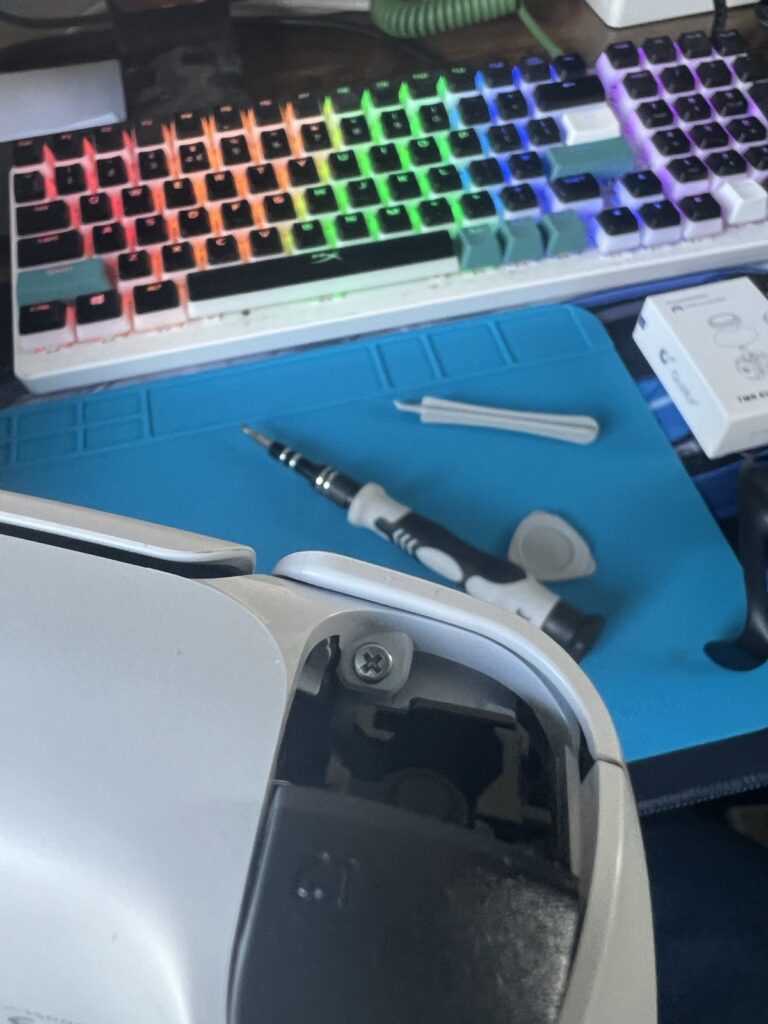
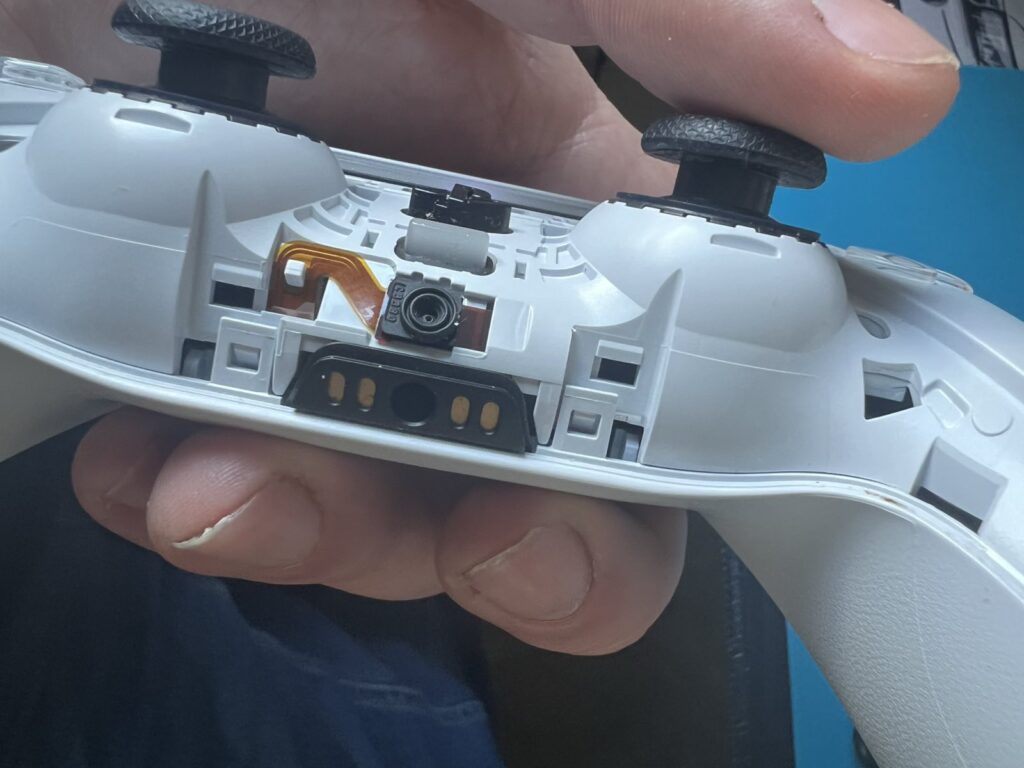
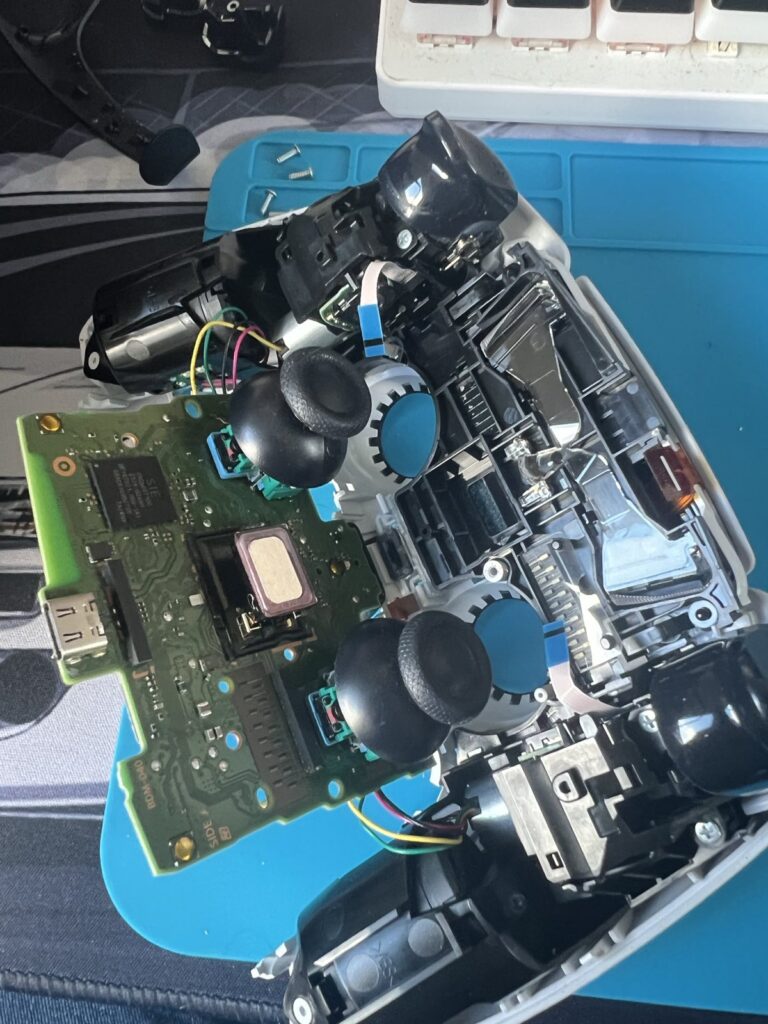
- Step 1: Removing the outer shell. A series of hidden clips and screws guarded the controller’s innards.
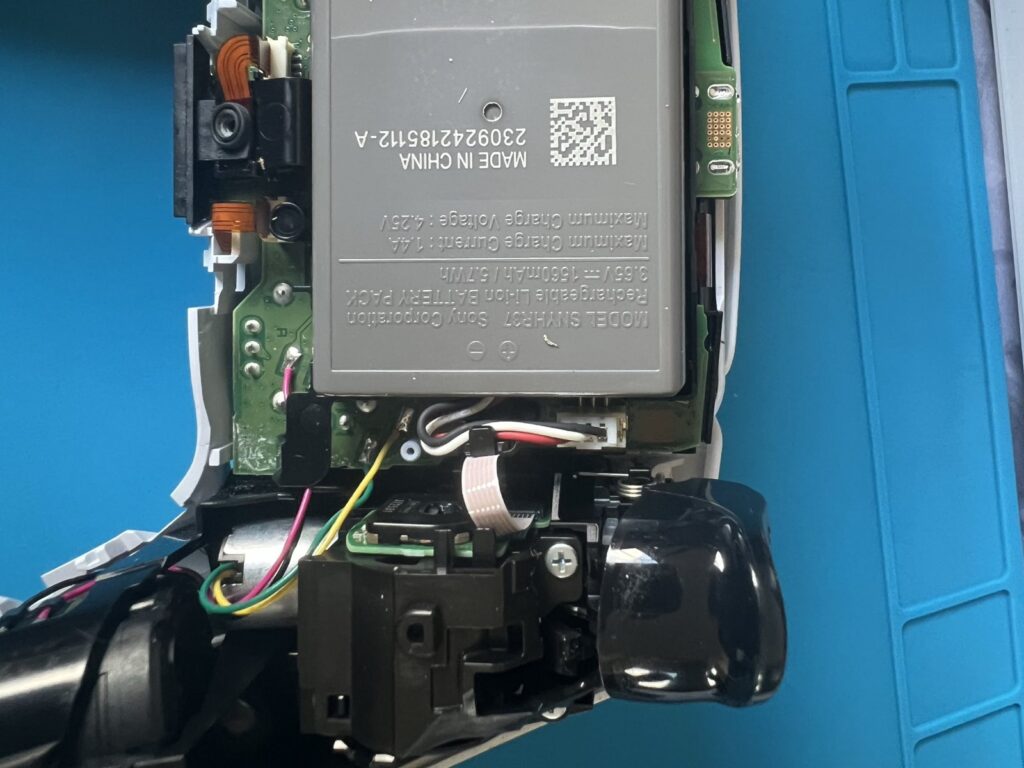
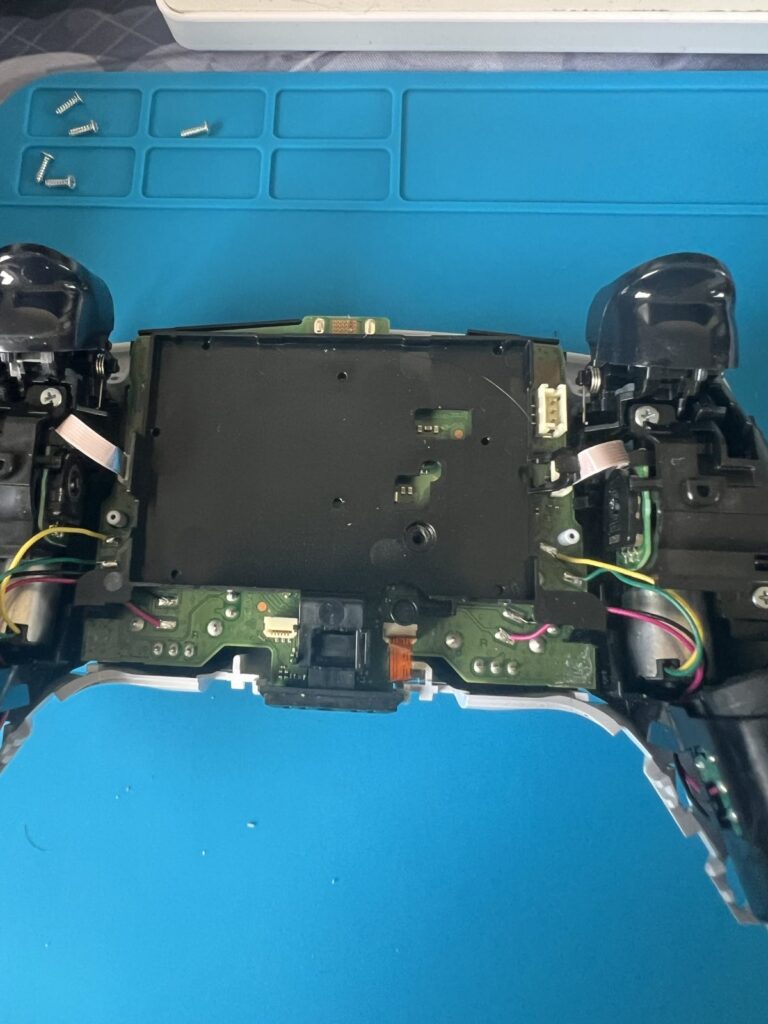
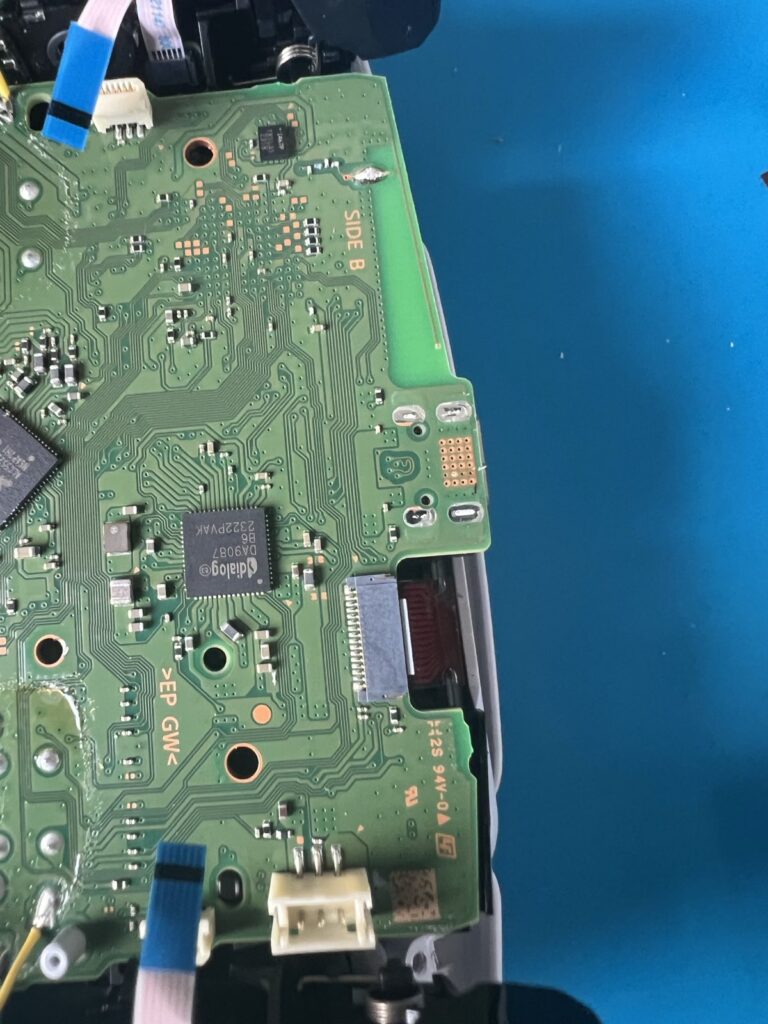
- Step 2: Disconnecting the battery and ribbon cables. Precision was key to avoid damage.
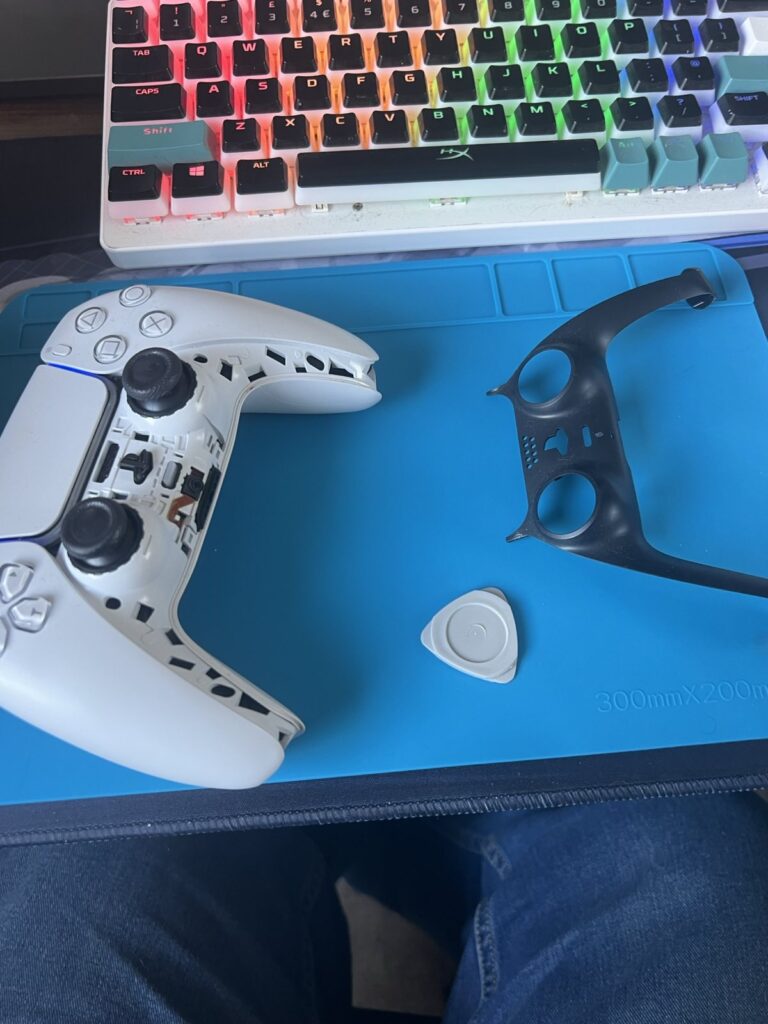
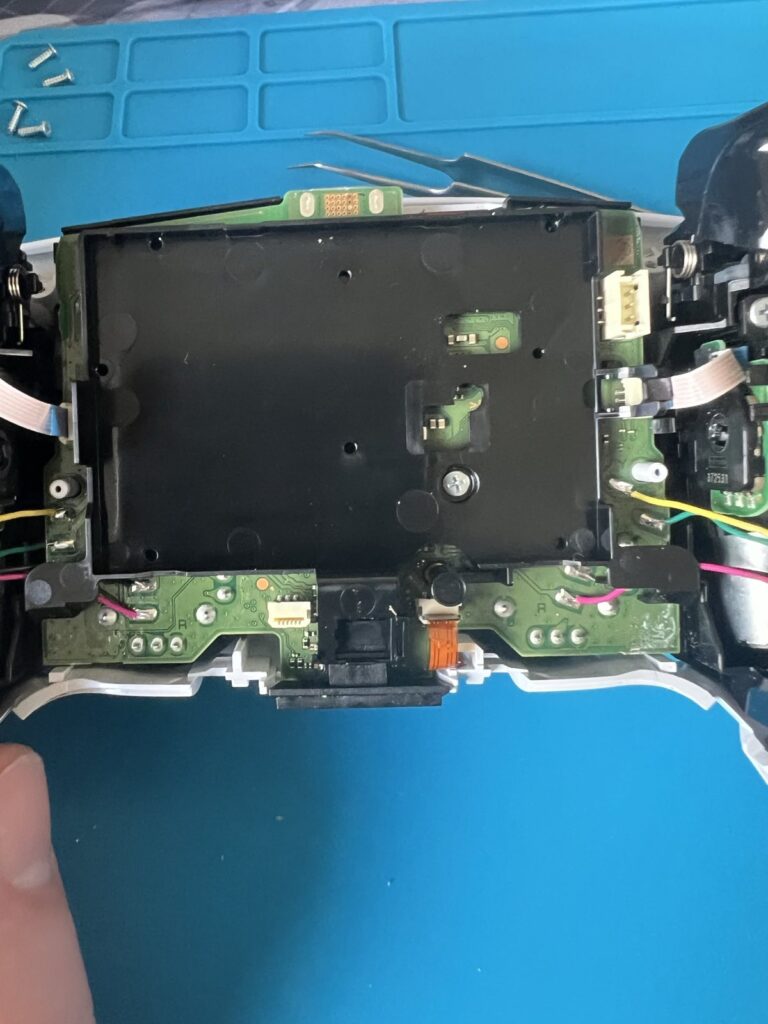
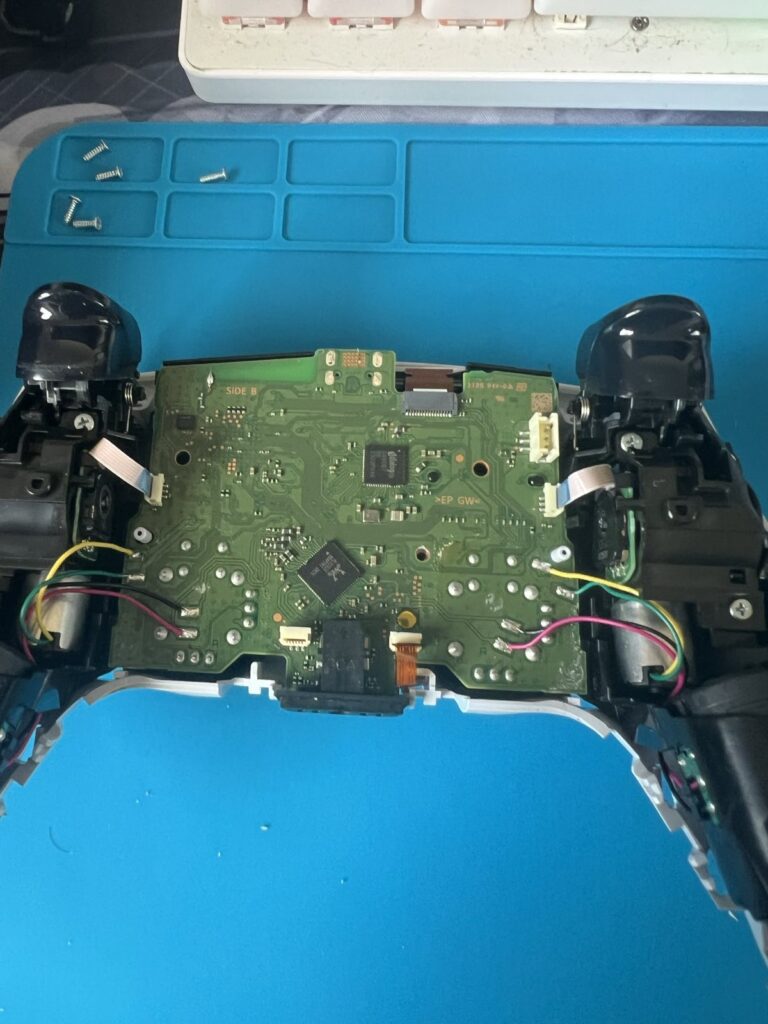
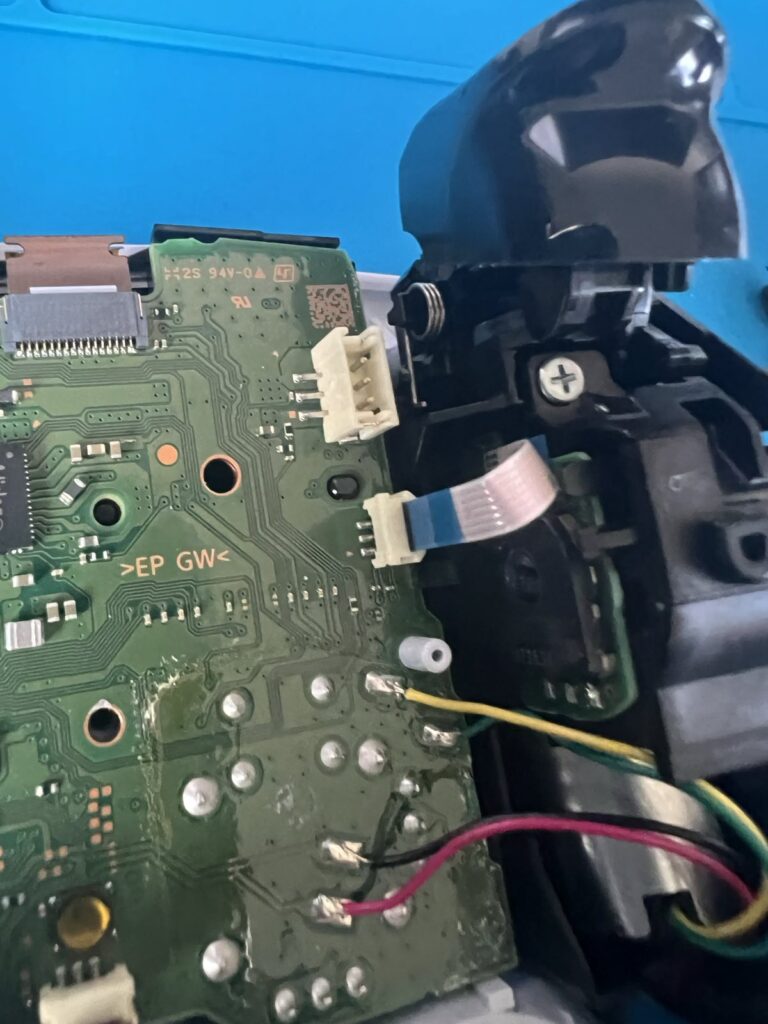
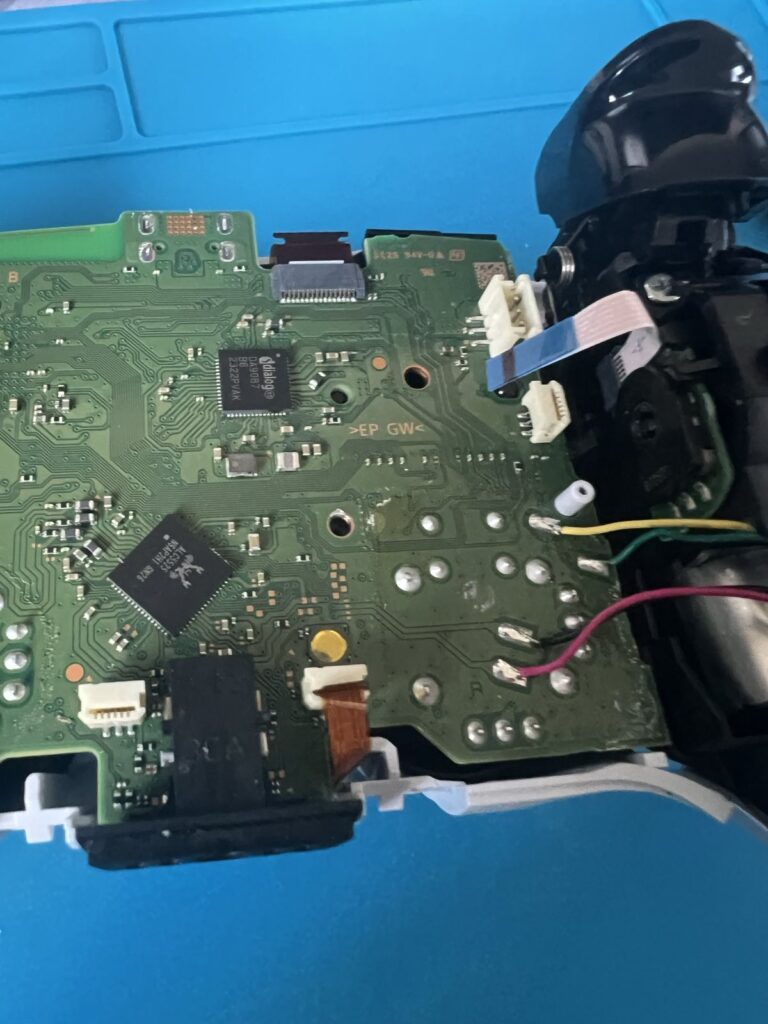
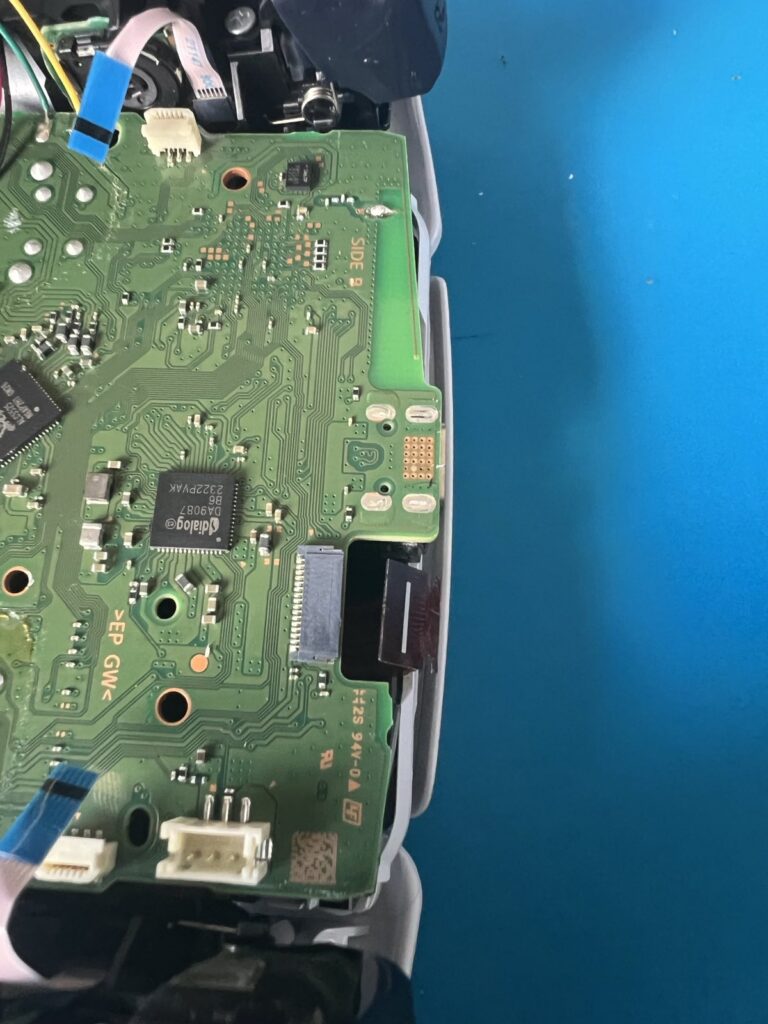
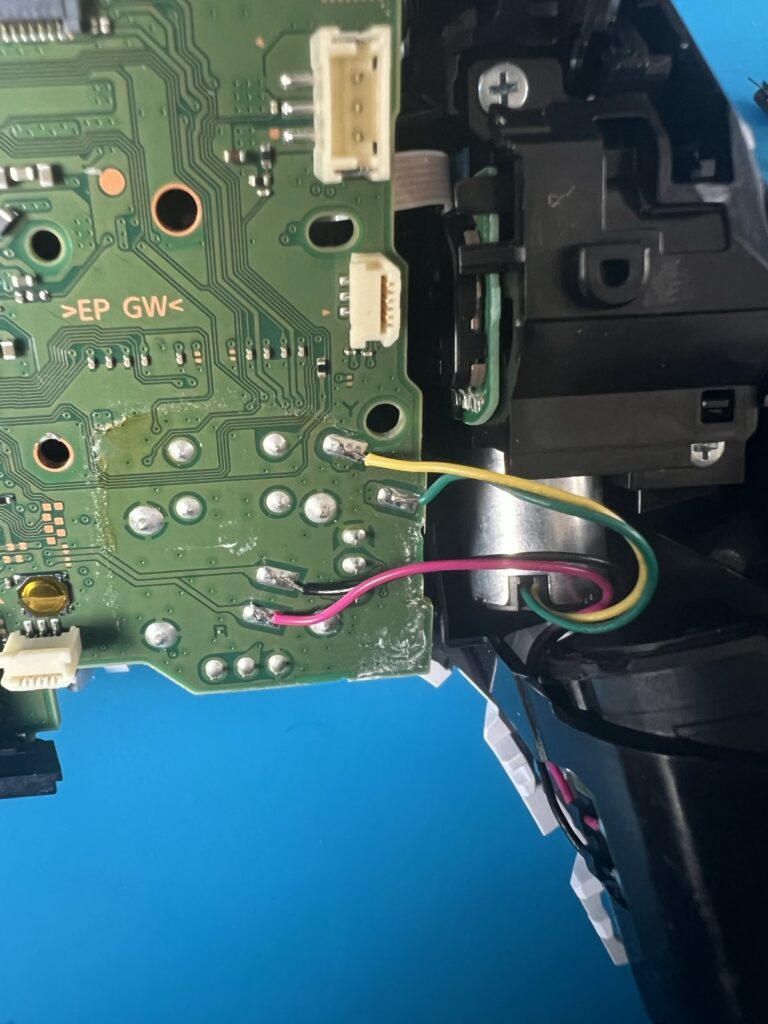
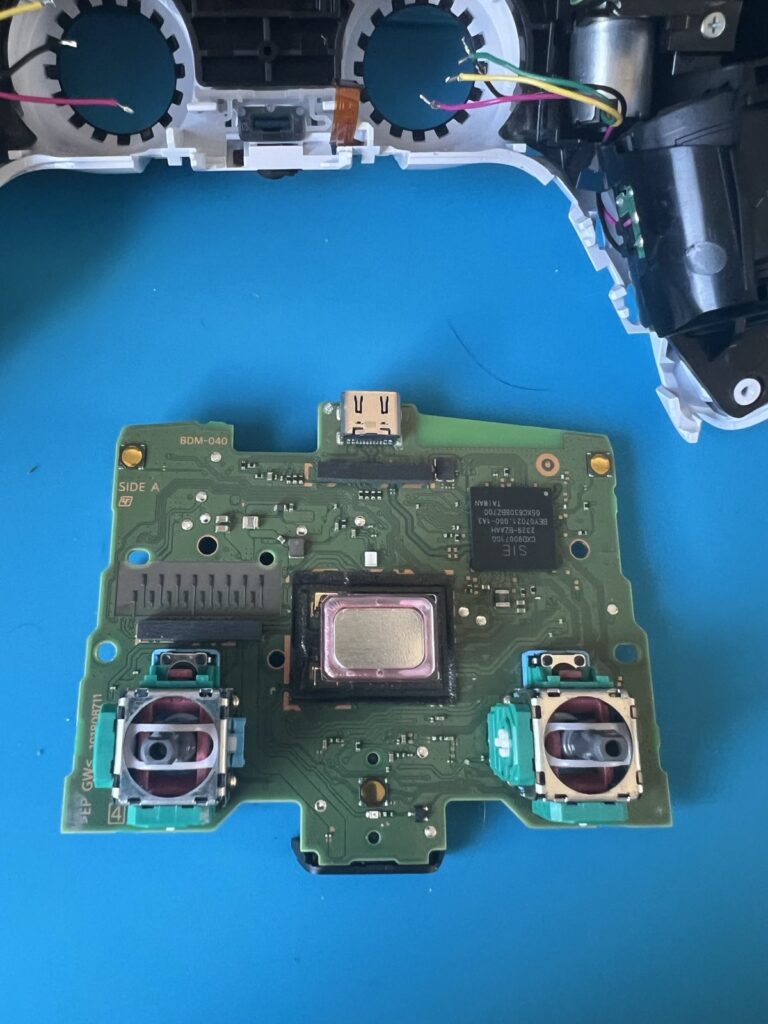
- Step 3: Finally, the motherboard was revealed, showcasing the culprit: the faulty left thumbstick.


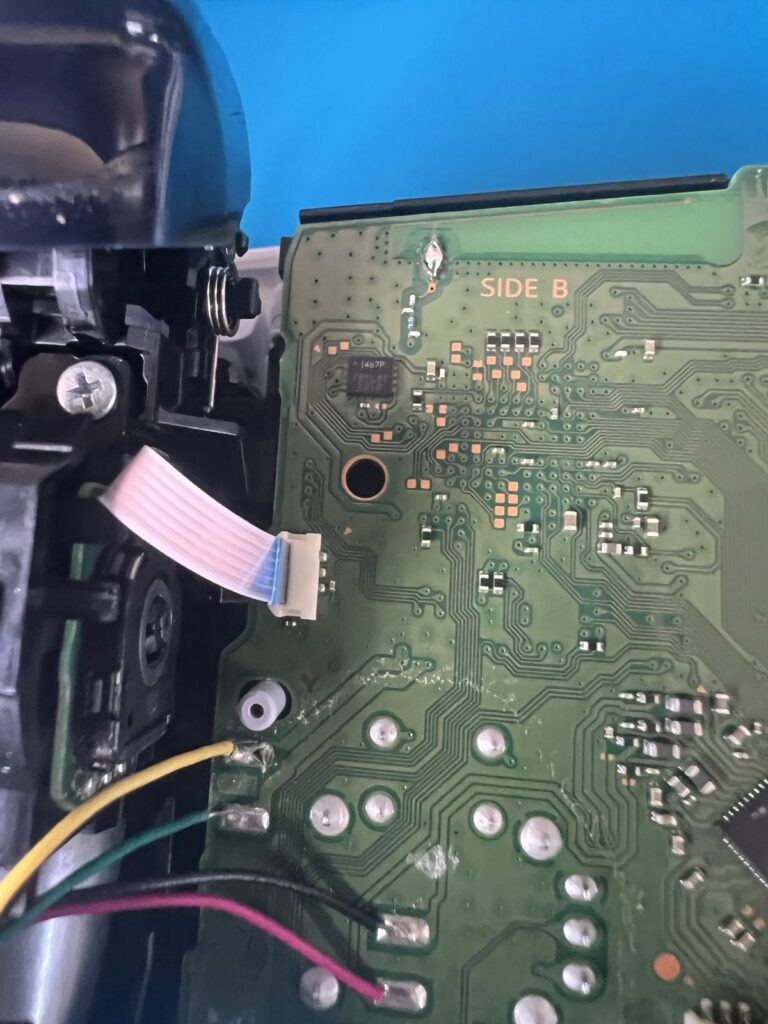
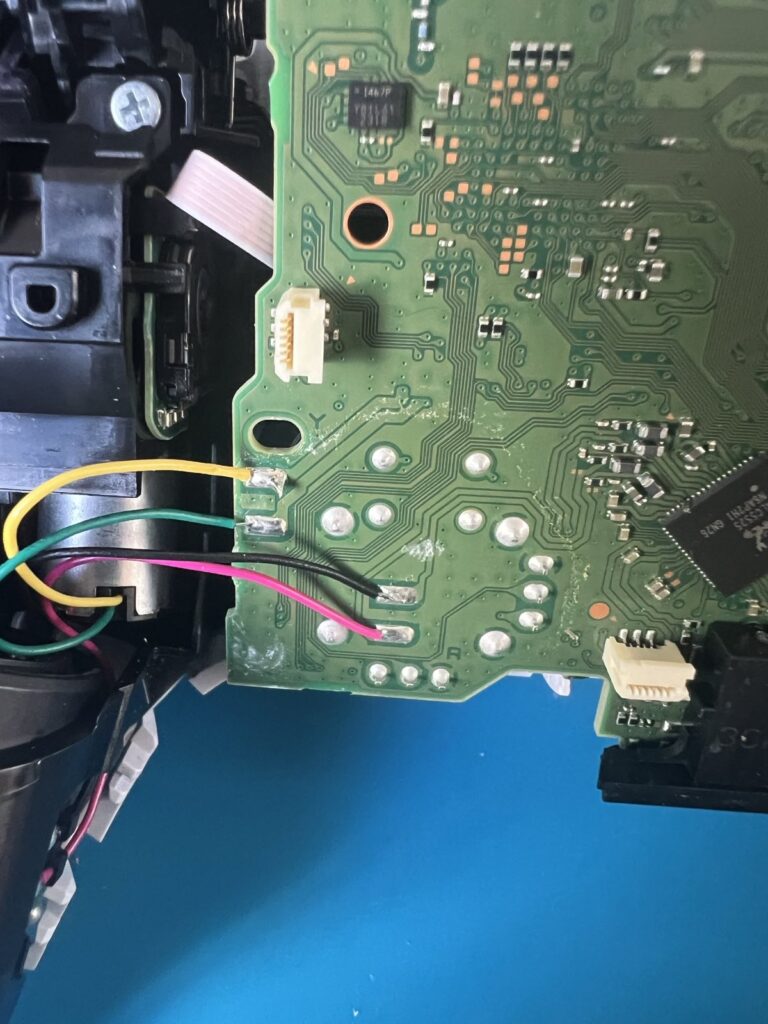
The Desoldering Dilemma
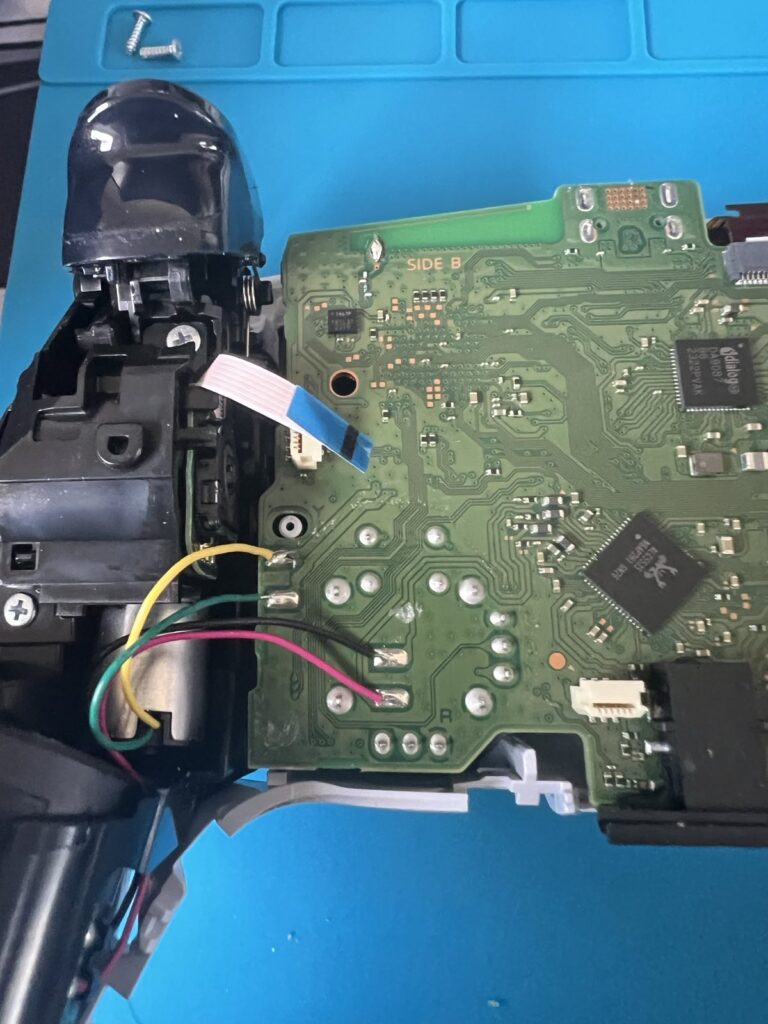
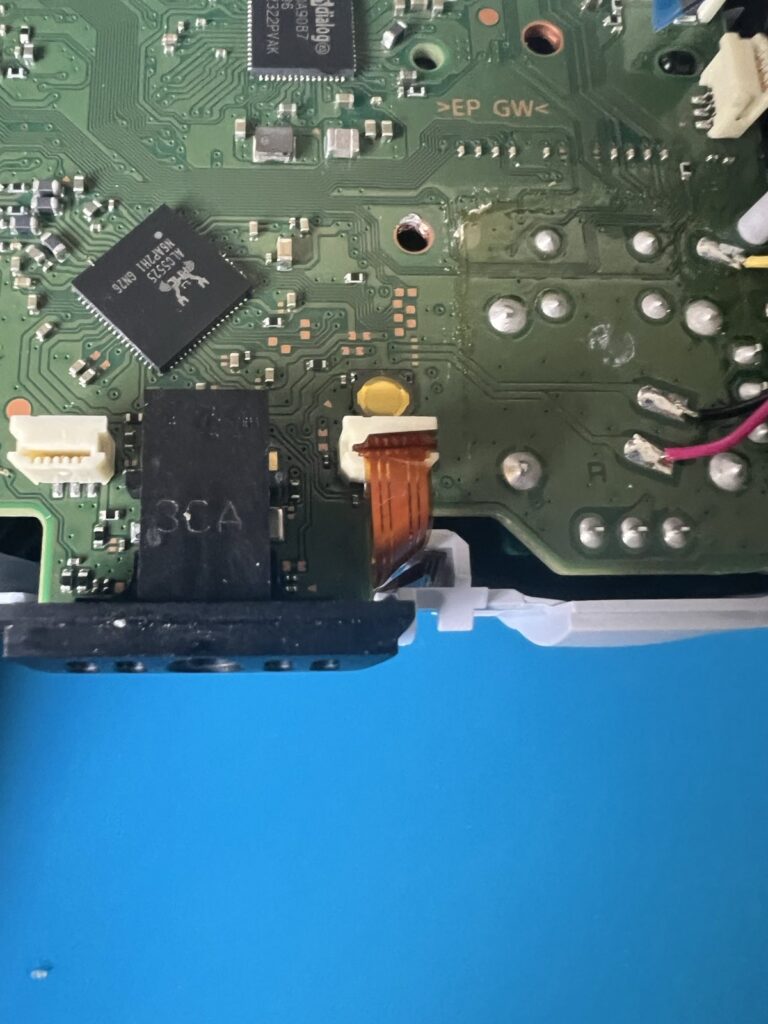
With the motherboard exposed, we faced the next hurdle: removing the original thumbsticks. These components are soldered directly onto the board, requiring precise desoldering.
We quickly realized that while we had the soldering skills, a desoldering gun was the ideal tool for this task. The numerous solder points and the desire to avoid damaging the delicate board meant we needed a more professional approach.
Outsourcing the Desoldering: Retro and Modern to the Rescue!
Recognizing the need for specialized equipment, we reached out to our friends at “Retro and Modern,” experts in console repairs and modifications. They graciously agreed to desolder the original thumbsticks for us.
We carefully packaged the motherboard and sent it off, trusting their expertise to handle the delicate desoldering process.
What’s Next?
We’re currently awaiting the return of the motherboard from Retro and Modern. Once we have it back, we’ll proceed with installing the GuliKit Hall Effect joysticks. We’ll document the installation process and test the controller’s performance in Part 2 of this blog post.
Stay Tuned!
Follow us on our journey to revive this bargain PS5 controller. We’ll provide updates on the installation of the GuliKit Hall Effect joysticks and share our final thoughts on the repair process.
Key Takeaways (So Far):
- Buying faulty controllers can be a cost-effective way to get gaming hardware, provided you’re willing to put in the work.
- Hall Effect joysticks offer a promising solution to stick drift.
- Sometimes, outsourcing specialized tasks to experts is the best course of action.
- Desoldering can be difficult without the right tools.
We are excited to see the results of this repair. Check back soon for Part 2!
Leave a Reply